Repotting indoor plants is a vital part of plant care, ensuring that they continue to thrive and grow. Over time, plants outgrow their containers or deplete the soil's nutrients, making it necessary to repot them. This guide will walk you through the process of repotting your indoor plants, helping you maintain a healthy and vibrant indoor garden.
Why Repot Indoor Plants?
There are several reasons why repotting is essential for your indoor plants:
- Root Bound Plants: When a plant becomes root bound, its roots fill the pot, leaving little room for growth. This can lead to poor nutrient absorption and restricted water uptake.
- Nutrient Depletion: Over time, the soil loses its nutrients, which can hinder the plant's growth. Fresh soil provides essential nutrients needed for healthy growth.
- Growth Promotion: Repotting allows plants to grow larger and healthier by providing more space and fresh soil.
When to Repot Your Indoor Plants

The best time to repot indoor plants is during the spring and early summer when plants are in their active growth phase. Look for the following signs to determine if your plant needs repotting:
- Roots growing out of drainage holes.
- Water sits on the soil surface and doesn't absorb quickly.
- The plant becomes top-heavy or starts to lean.
- Soil dries out more quickly than usual.
Tools and Materials Needed

Before you start repotting, gather the necessary tools and materials:
- A new pot (1-2 inches larger in diameter than the current one)
- Fresh potting soil appropriate for your plant type
- Gardening gloves
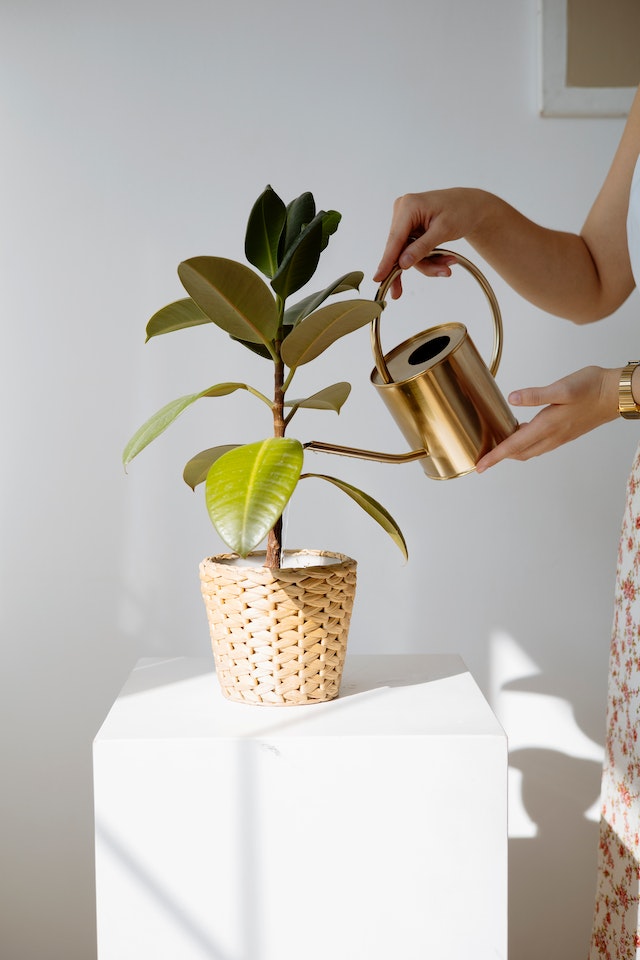
- Watering can
- Trowel or small shovel
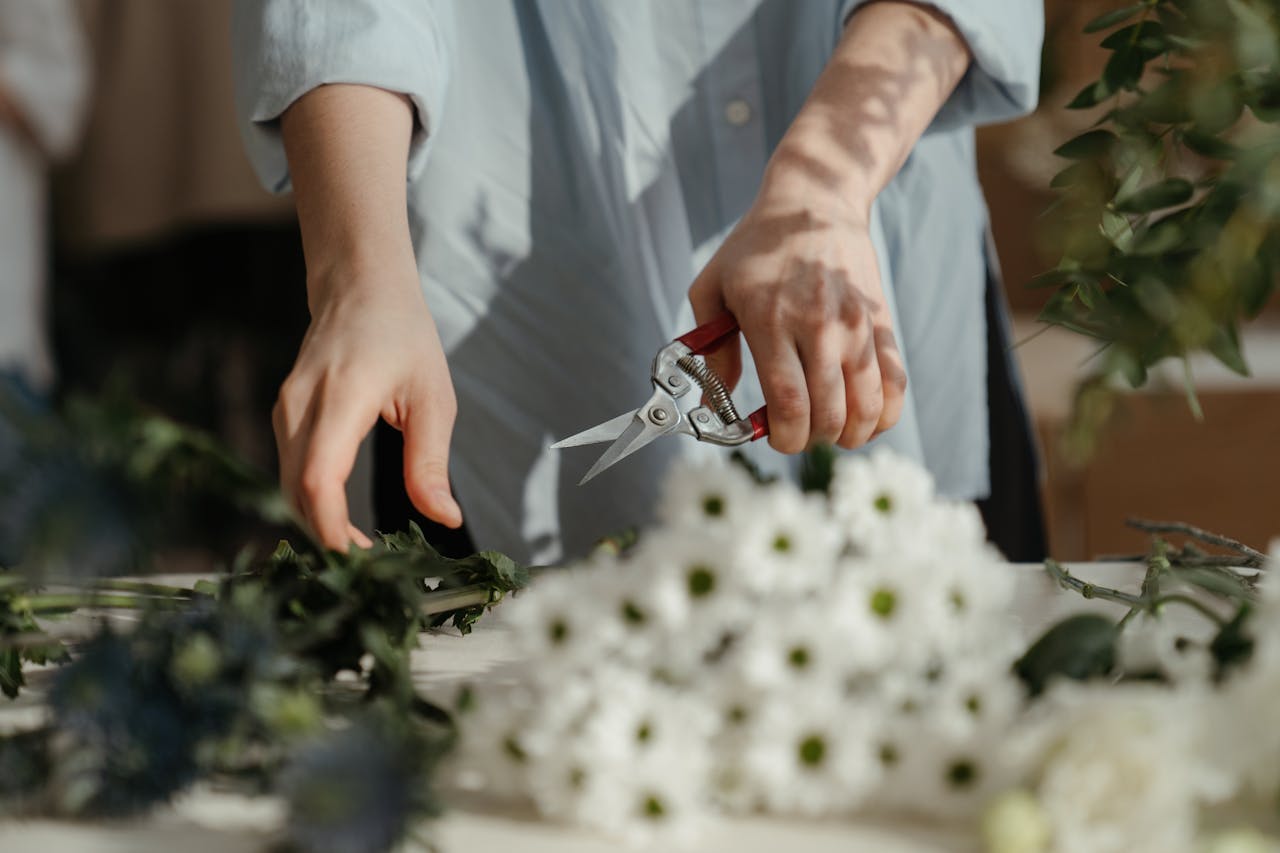
- Scissors or pruning shears
Step-by-Step Guide to Repotting Indoor Plants
- Choose the Right Pot
- Select a pot that is only slightly larger than the current one. A pot that is too large can retain too much water, leading to root rot.
- Ensure the new pot has drainage holes to prevent waterlogging.
- Prepare the New Pot
- Add a layer of fresh potting soil at the bottom of the new pot. This will provide a nutrient-rich base for the roots.
- Remove the Plant from Its Old Pot
- Water the plant a day before repotting to ease its removal from the pot.
- Gently tap the sides of the pot to loosen the soil and carefully turn the pot upside down, supporting the plant with your hand.
- Inspect the Roots
- Check the roots for any signs of root rot or damage. Healthy roots should be white and firm.
- If the plant is root bound, gently tease the roots apart with your fingers or a small tool.
- Place the Plant in the New Pot
- Position the plant in the center of the new pot. Add soil around the roots, pressing down gently to eliminate air pockets.
- Make sure the plant is at the same depth as it was in the old pot.
- Water the Plant
- Water the plant thoroughly until water drains out of the bottom of the pot. This helps settle the soil around the roots.
- Ensure the soil is evenly moist but not waterlogged.
- Post-Repotting Care
- Place the plant in a location with indirect light for a few days to help it adjust to its new pot.
- Avoid fertilizing the plant for about a month to prevent root burn. Resume regular care after this adjustment period.
Also Read- How To Save Over-fertilized Indoor Plants
Tips for Specific Types of Indoor Plants

Different types of plants have specific repotting needs:
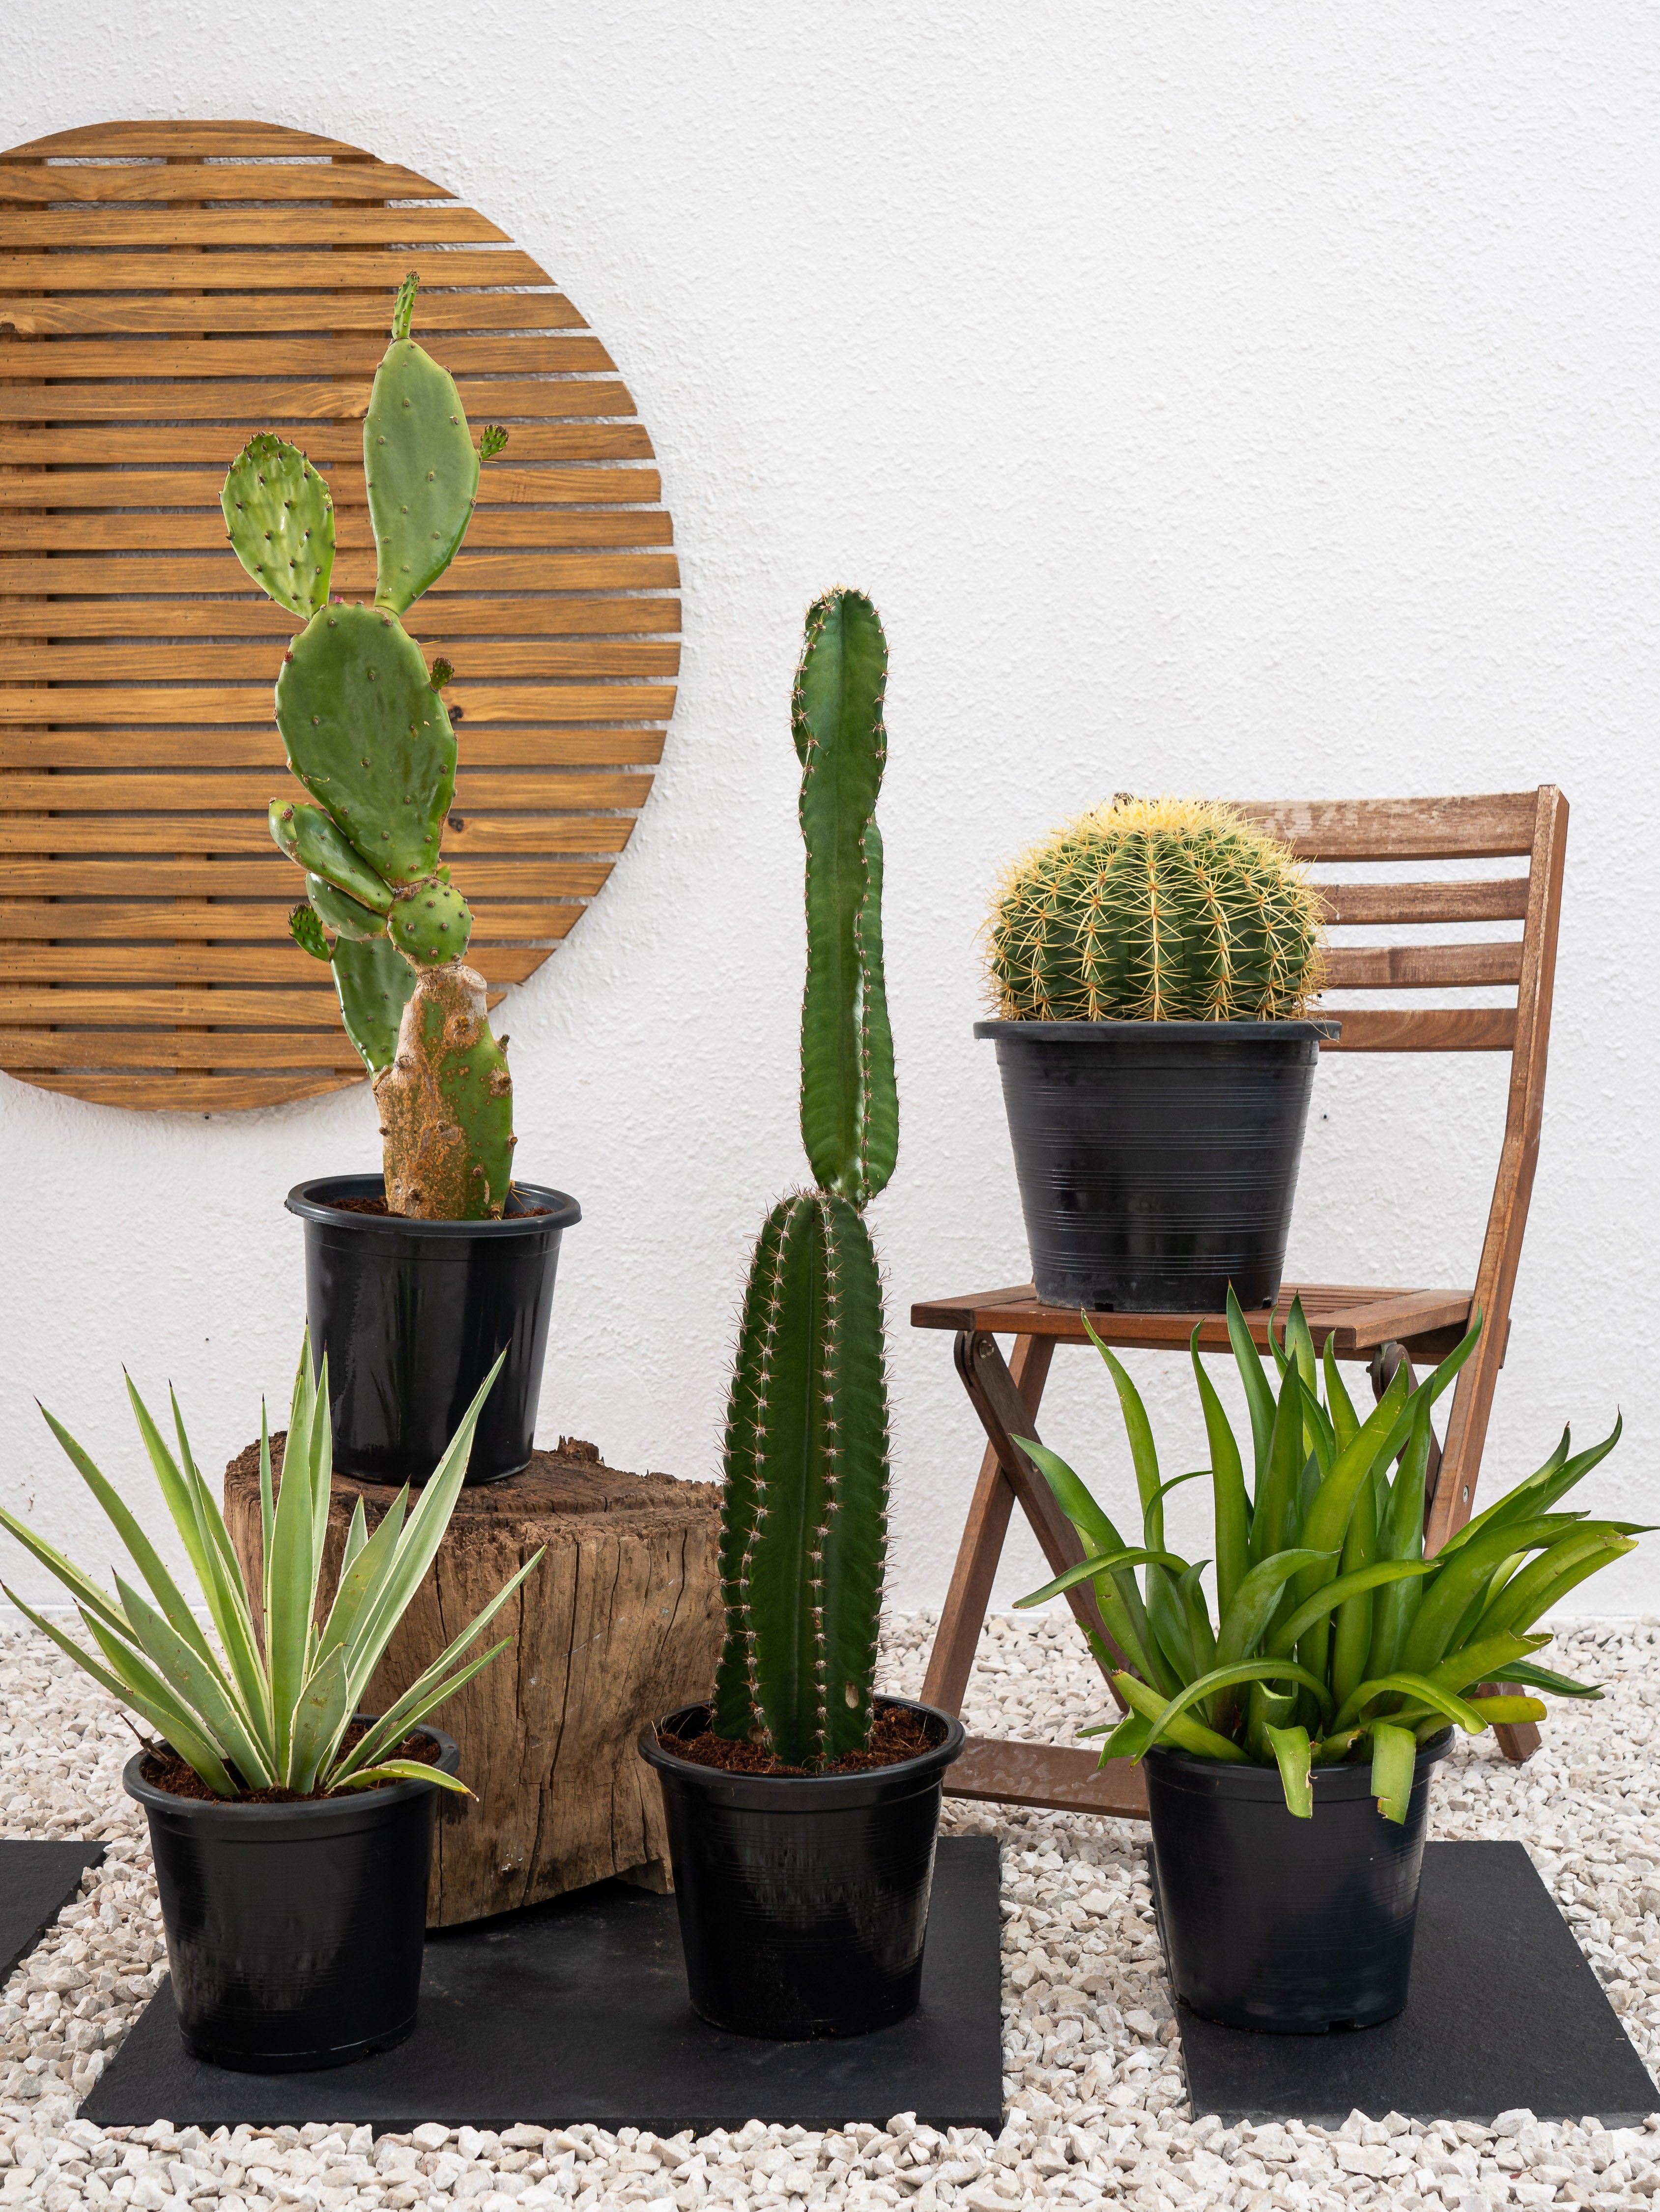
- Succulents and Cacti: Use a well-draining cactus mix. After repotting, wait a few days before watering to allow the roots to adjust.
- Orchids: Use an orchid bark mix and ensure good air circulation around the roots.
- Ferns: Use a rich, peat-based potting mix. Keep the soil consistently moist but avoid overwatering.
Common Mistakes to Avoid
- Using a Pot Too Large
- A pot that is too large can hold excess water, leading to root rot. Always choose a pot only slightly larger than the current one.
- Overwatering After Repotting
- Newly repotted plants need less water initially. Overwatering can cause root rot and other issues.
- Not Providing Enough Light
- Ensure the plant receives appropriate light after repotting. Avoid direct sunlight, which can stress the plant.
- Ignoring Root Health
- Always inspect the roots and trim any unhealthy parts. Healthy roots are crucial for plant growth and vitality.
Also Read- Ultimate Guide To Caring For Tropical Indoor Plants: Essential Tips For Gardeners
Frequently Asked Questions About Repotting Indoor Plants
- How often should I repot my indoor plants?
- Generally, repotting every 1-2 years is sufficient. However, fast-growing plants may need more frequent repotting.
- Can I reuse old potting soil?
- It's best to use fresh potting soil to ensure your plant receives all the necessary nutrients.
- What should I do if my plant looks wilted after repotting?
- It's normal for plants to experience some transplant shock. Give it time to adjust, keep it in indirect light, and water sparingly.
- Can I repot my plant during winter?
- While it's possible to repot during winter, it's not ideal. Plants are usually dormant in winter and may not adjust well to repotting.
Conclusion
Repotting indoor plants is a crucial part of plant care that promotes healthy growth and vibrant foliage. By following these simple steps and tips, you can ensure your plants thrive in their new pots. Remember to handle your plants gently during the process, and they will reward you with continued growth and beauty.
Regularly repotting your indoor plants will keep them healthy and happy, adding life and greenery to your home. Happy gardening!



Leave a comment
This site is protected by hCaptcha and the hCaptcha Privacy Policy and Terms of Service apply.