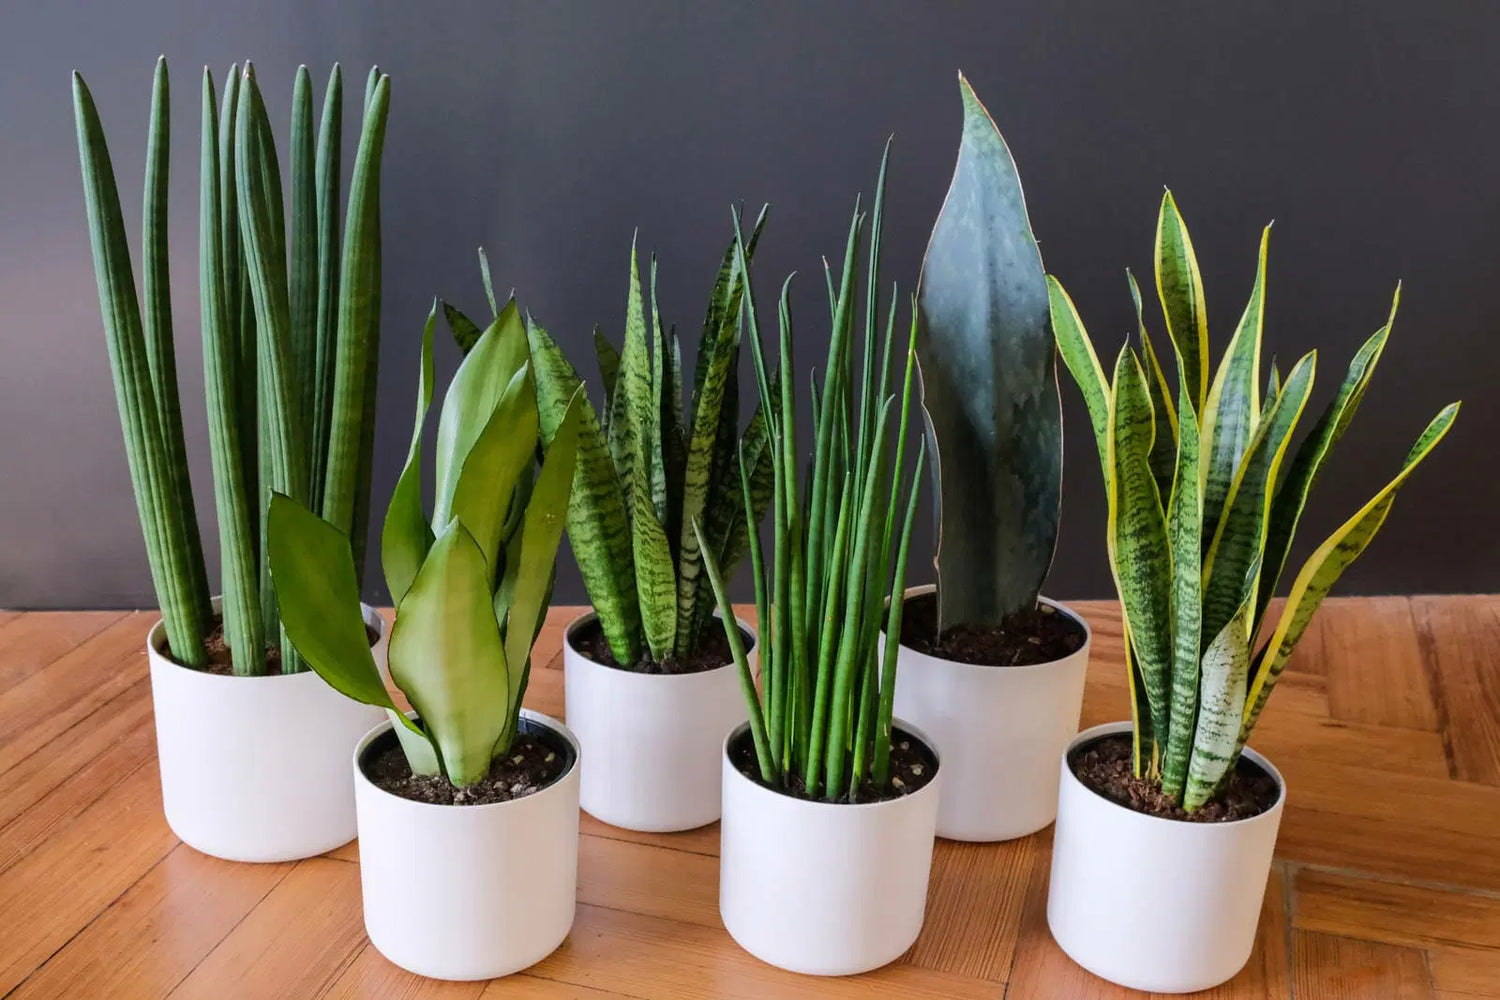
Snake plants (Sansevieria), also known as mother-in-law’s tongue, are popular houseplants known for their hardiness and striking, upright leaves. They’re excellent for beginners and seasoned gardeners alike. One of the key aspects of caring for snake plants involves repotting and propagating them. This step-by-step guide will walk you through the process, ensuring your snake plants thrive and multiply.
Why Repot and Propagate Snake Plants?

Benefits of Repotting
- Healthier Growth: Over time, snake plants can outgrow their pots, leading to root-bound conditions. Repotting provides fresh soil and more space for roots to grow.
- Nutrient Renewal: Fresh potting mix supplies new nutrients, essential for the plant’s health.
- Disease Prevention: Repotting helps eliminate any pests or diseases present in the old soil.
Benefits of Propagating
- More Plants: Propagation allows you to create new plants from your existing ones, expanding your collection or providing gifts for friends.
- Rejuvenation: It’s an effective way to rejuvenate older plants, giving new life to your indoor garden.
Also Read- Green Medicine: How Snake Plants Can Improve Your Health Naturally
How to Repot a Snake Plant

Materials Needed
- New pot (one size larger than the current one)
- Fresh potting mix (a well-draining mix is ideal)
- Trowel or spoon
- Gloves (optional)
Step-by-Step Repotting Guide
Step 1: Choose the Right Time
The best time to repot snake plants is during the spring or summer when they are actively growing.
Step 2: Prepare the New Pot
Select a pot that is one size larger than the current pot. Ensure it has drainage holes to prevent waterlogging.
Step 3: Remove the Plant from the Old Pot
Gently tip the pot on its side and slide the plant out. You may need to tap the sides of the pot or run a knife around the edge to loosen the roots.
Step 4: Inspect the Roots
Check the roots for any signs of rot or damage. Healthy roots should be firm and white or light tan. Trim away any rotten or dead roots with clean scissors.
Step 5: Add Fresh Soil
Place a layer of fresh potting mix at the bottom of the new pot. Position the snake plant in the center, and fill in around it with more potting mix, pressing gently to remove air pockets.
Step 6: Water the Plant
Water the plant thoroughly to help settle the soil. Ensure excess water drains out of the bottom.
Step 7: Place in Appropriate Light
Place the newly potted plant in a location with indirect sunlight. Avoid direct sun until the plant has acclimated to its new pot.
Also Read- Snake Plants In Office Spaces: Enhancing Productivity And Wellbeing
How to Propagate Snake Plants

Snake plants can be propagated in several ways: division, leaf cuttings, and water propagation. Here, we’ll cover each method.
Propagation by Division
Step 1: Remove the Plant from the Pot
Follow the same steps as in repotting to remove the plant from its pot.
Step 2: Separate the Rhizomes
Snake plants grow from rhizomes, which are underground stems that produce roots and shoots. Gently pull apart the rhizomes, ensuring each section has both roots and leaves.
Step 3: Pot the Divisions
Plant each division in its own pot with fresh potting mix. Water thoroughly and place in indirect sunlight.
Propagation by Leaf Cuttings
Step 1: Choose a Healthy Leaf
Select a healthy, mature leaf from the plant.
Step 2: Cut the Leaf
Using clean scissors, cut the leaf into sections about 2-3 inches long. Ensure each section has a clear top and bottom (the bottom is the part that was closest to the soil).
Step 3: Let the Cuttings Dry
Allow the cuttings to dry for a day or two to callus over. This helps prevent rot when they are planted.
Step 4: Plant the Cuttings
Plant the bottom end of each cutting in a pot with well-draining soil. Water lightly.
Step 5: Care for the Cuttings
Place the pot in indirect sunlight. Water sparingly until you see new growth, which indicates root development.
Also Read- Why Snake Plants Are The Perfect Choice For Urban Homes
Propagation by Water
Step 1: Choose a Healthy Leaf
Select a healthy, mature leaf and cut it near the base.
Step 2: Place in Water
Place the cut end of the leaf in a container of water, ensuring the bottom part is submerged. Use a clear container to monitor root growth.
Step 3: Change the Water Regularly
Change the water every few days to prevent stagnation and bacterial growth.
Step 4: Plant When Roots Develop
Once roots are a few inches long, plant the cutting in a pot with fresh potting mix. Water thoroughly and place in indirect sunlight.
Also Read- Creating A Snake Plant Care Routine: Tips For Busy People
Caring for Your New Plants

After repotting or propagating, proper care is crucial for the health and growth of your snake plants.
Light
Snake plants prefer bright, indirect light but can tolerate low light conditions. Avoid direct sunlight, which can scorch the leaves.
Watering
Water sparingly, allowing the soil to dry out between waterings. Overwatering is a common cause of root rot.
Temperature and Humidity
Snake plants thrive in average room temperatures between 60-75°F (16-24°C). They prefer low to moderate humidity levels.
Fertilization
Feed your snake plant with a balanced houseplant fertilizer once during the growing season (spring and summer).
Conclusion
Repotting and propagating snake plants are simple processes that can greatly benefit your plants and expand your collection. By following this step-by-step guide, you can ensure your snake plants stay healthy and continue to thrive. Happy gardening!


Leave a comment
This site is protected by hCaptcha and the hCaptcha Privacy Policy and Terms of Service apply.