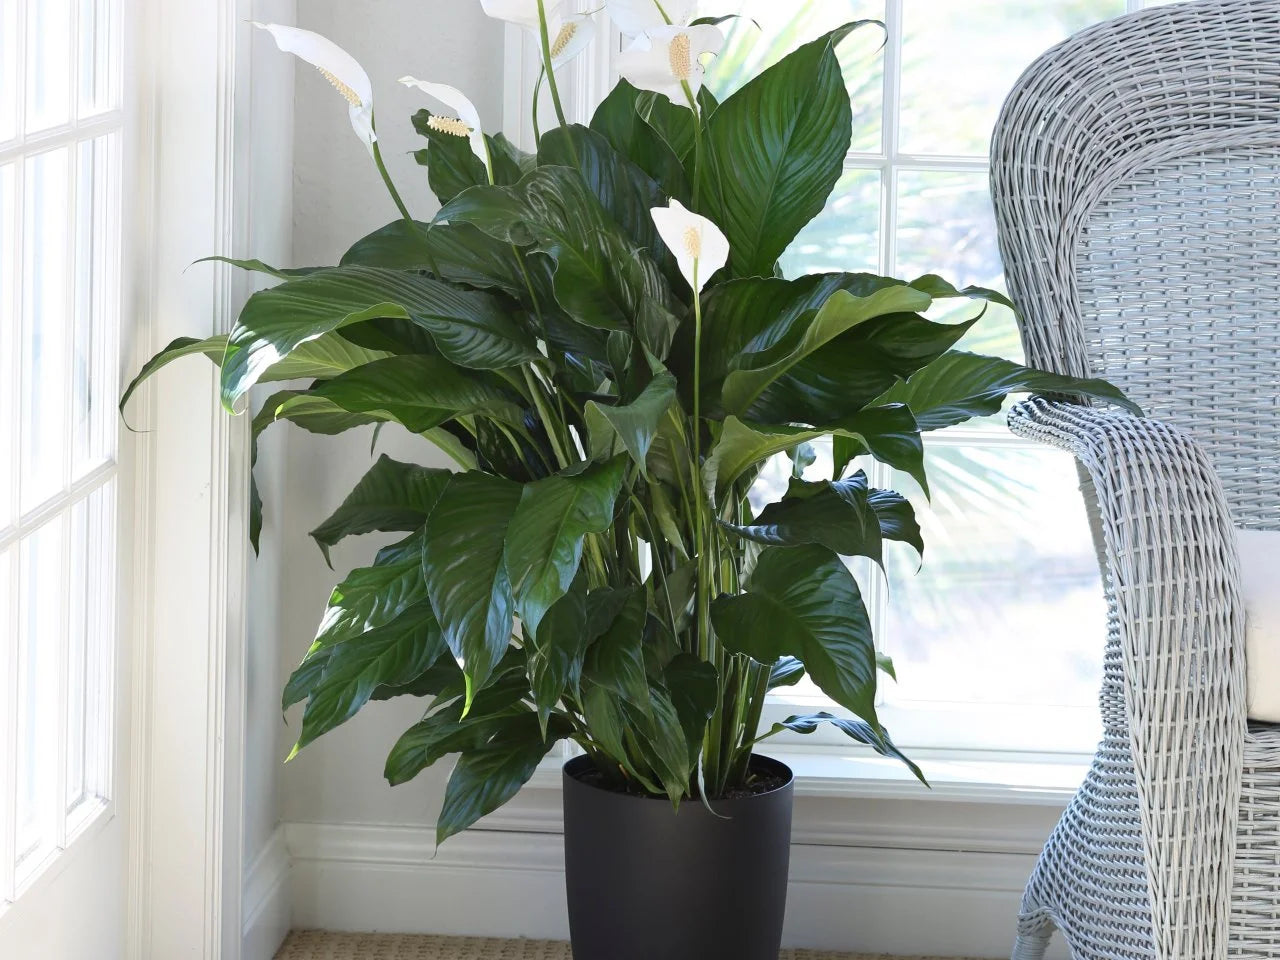
Peace lilies (Spathiphyllum) are popular houseplants known for their beautiful white blooms and ability to purify indoor air. These low-maintenance plants thrive in a variety of conditions, making them a favorite among both novice and experienced gardeners.
However, like all plants, peace lilies benefit from regular pruning. Proper pruning can encourage better growth, maintain the plant’s shape, and promote overall health. In this guide, we’ll walk you through the steps of how to prune your peace lily for better growth.
Why Prune a Peace Lily?

Before diving into the pruning process, it’s important to understand why pruning is beneficial for your peace lily:
- Encourages Healthy Growth: Pruning removes dead or damaged leaves, allowing the plant to focus its energy on producing new, healthy foliage.
- Promotes Flowering: By cutting back old flowers and leaves, you encourage the plant to produce new blooms.
- Maintains Shape: Regular pruning helps maintain the plant’s shape, preventing it from becoming too leggy or unruly.
- Prevents Disease: Removing dead or yellowing leaves reduces the risk of disease and pest infestations.
Also Read- Why Every Home Should Have Peace lily
When to Prune a Peace Lily

Peace lilies can be pruned at any time of the year, but the best time to prune is during the spring and summer months when the plant is actively growing. Pruning during this period allows the plant to recover quickly and encourages the growth of new leaves and flowers.
Tools You’ll Need

Before you start pruning, gather the following tools:
- Sharp Pruning Shears: A pair of clean, sharp pruning shears is essential for making precise cuts without damaging the plant.
- Isopropyl Alcohol or Bleach Solution: Use this to sterilize your pruning shears before and after use to prevent the spread of disease.
- Gloves: Although peace lilies are not toxic to touch, wearing gloves can protect your hands from sap and debris.
- Clean Cloth: For wiping down the leaves and shears.
Also Read- The Benefits Of Using Rainwater For Your Peace Lily

1. Inspect the Plant
Before you start cutting, take a close look at your peace lily. Identify any yellowing, brown, or wilted leaves, as well as old flower stalks that need to be removed. This inspection will help you determine the areas that require pruning.
2. Sanitize Your Pruning Shears
To prevent the spread of disease, it’s crucial to sanitize your pruning shears before making any cuts. Wipe the blades with isopropyl alcohol or a bleach solution (one part bleach to nine parts water). Let the blades dry completely before proceeding.
3. Remove Dead or Damaged Leaves
Start by removing any dead or damaged leaves. These leaves are usually yellow or brown and can detract from the plant’s overall appearance. To remove a leaf, cut it at the base where it meets the stem. Make sure your cuts are clean and close to the base to avoid leaving stubs, which can attract pests.
4. Trim Old Flower Stalks
After the peace lily’s flowers have faded and turned brown, it’s time to remove the old flower stalks. Use your pruning shears to cut the stalk as close to the base as possible. Removing old flower stalks not only improves the plant’s appearance but also encourages the growth of new blooms.
5. Cut Back Overgrown Areas
If your peace lily has become too large or leggy, you can trim back some of the overgrown areas. Focus on cutting back the longest leaves to maintain a balanced shape. Be careful not to remove more than 20-30% of the plant at one time, as this can stress the plant and hinder its growth.
6. Thin Out the Plant
If your peace lily is densely packed with leaves, you might want to thin it out. This involves removing some of the inner leaves to improve air circulation and allow light to reach the lower parts of the plant. Thinning out the plant also reduces the risk of fungal diseases.
7. Wipe Down the Leaves
After pruning, take a clean cloth and gently wipe down the remaining leaves. This helps remove any dust, debris, or sap that may have accumulated during the pruning process. Clean leaves can better absorb light, which is essential for photosynthesis and overall plant health.
8. Monitor the Plant
After pruning, it’s important to monitor your peace lily for signs of stress or disease. Make sure the plant is receiving adequate water, light, and humidity. Within a few weeks, you should notice new growth emerging, indicating that the pruning has had a positive effect.
Tips for Pruning Success

- Prune Regularly: Regular pruning keeps your peace lily healthy and prevents it from becoming overgrown. Aim to prune every few months or as needed.
- Use Clean Tools: Always use clean, sharp tools to avoid damaging the plant and spreading disease.
- Avoid Over-Pruning: While pruning is beneficial, over-pruning can stress the plant. Only remove what is necessary to maintain the plant’s health and shape.
- Water After Pruning: After pruning, give your peace lily a good watering to help it recover and stimulate new growth.
Common Pruning Mistakes to Avoid
- Leaving Stubs: When removing leaves or flower stalks, make sure to cut them as close to the base as possible. Leaving stubs can lead to rot and attract pests.
- Pruning Too Much at Once: Avoid removing too many leaves or stems at one time. This can shock the plant and slow down its recovery.
- Ignoring Dead Flowers: Always remove dead or faded flowers to encourage the growth of new blooms and keep the plant looking its best.
Conclusion
Pruning your peace lily is an essential part of its care routine, promoting healthier growth, better flowering, and a more attractive appearance. By following the steps outlined in this guide, you can confidently prune your peace lily to maintain its beauty and vitality. Remember to prune regularly, use clean tools, and monitor the plant’s progress after each pruning session. With proper care, your peace lily will continue to thrive and bring a touch of natural elegance to your home


Leave a comment
This site is protected by hCaptcha and the hCaptcha Privacy Policy and Terms of Service apply.