Flushing Salts in Areca Palm Soil: Exact Method to Prevent Tip Burn
Areca palm (Dypsis lutescens) owners know the heartbreak: lush green fronds turning crispy brown at the tips. The culprit? Salt buildup in the soil. Tap water, fertilizers, and even softeners leave behind minerals that scorch leaf edges, stunting growth and ruining your tropical vibe. This 1000-word SEO-optimized guide reveals the exact method for flushing salts in areca palm soil, step-by-step, to banish tip burn for good. Follow this once every 3–6 months and watch your palm thrive.
Why Salt Buildup Causes Areca Palm Tip Burn
Areca palms hate excess salts—fluoride, chlorine, calcium, and sodium from water or fertilizer accumulate in soil over time. These minerals disrupt water uptake, “burning” sensitive leaf tips. Unlike pests or rot, tip burn is a chemical injury, not a disease.
Fact: The University of Florida IFAS Extension reports 90% of areca palm tip burn indoors traces to salt toxicity, not low humidity.
Left unchecked, salts form a white crust on soil, yellow lower fronds, and eventually kill the plant. Flushing is the only cure—and prevention.
When to Flush Areca Palm Soil (Don’t Wait for Damage)
Flush before tip burn appears, or at the first sign:
- White crust on soil surface
- Brown, crispy leaf tips (starting at margins)
- Yellowing older fronds
- Slow growth despite good light
Ideal Flushing Schedule
| Condition | Flush Frequency |
|---|---|
| Tap water (hard/softened) | Every 3 months |
| Filtered/rainwater | Every 6 months |
| Visible tip burn | Immediately + monthly until clear |
Exact Method: How to Flush Salts in Areca Palm Soil (5 Steps)
Tools You’ll Need
- Large sink, tub, or outdoor area
- Distilled, rainwater, or dechlorinated tap water (room temperature)
- Watering can with rose (gentle flow)
- Moisture meter (optional but gold)
Step 1: Prep the Plant and Area
- Move outdoors or to a drainable space (bathtub, balcony).
- Remove saucer—no standing water allowed.
- Inspect roots through drainage holes—if packed, consider repotting after flushing.
Step 2: Slow-Soak the Soil (The Key to Salt Removal)
Goal: Replace salty water with clean water via leaching.
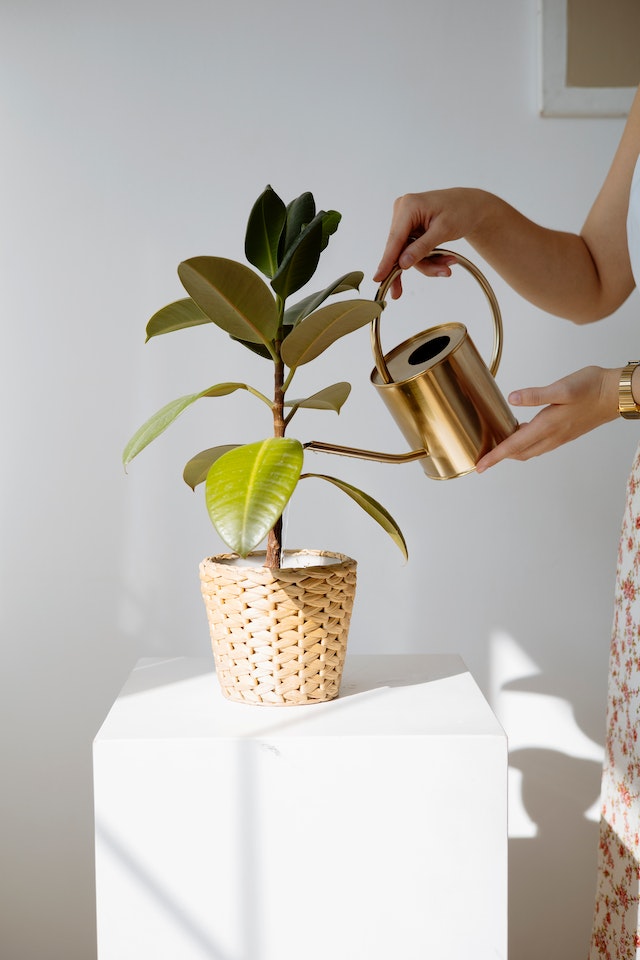
- Water slowly from the top using a watering can with a rose.
-
Apply 3–4 times the pot volume:
- 6-inch pot → 1.5–2 gallons
- 10-inch pot → 3–4 gallons
- 14-inch pot → 6–8 gallons
- Go slow—10–15 minutes per gallon to avoid runoff.
- Let drain fully between pours (5–10 mins).
Pro Tip: Use room-temperature water—cold shocks roots.
Step 3: Check Runoff (Know When Salts Are Gone)
- Collect final runoff in a white bowl.
-
Look for clarity:
- Cloudy/milky → more salts; keep flushing.
- Clear → salts mostly removed.
- Optional: Use a TDS meter (<200 ppm = safe).
Step 4: Dry Out Completely (Prevent Root Rot)
After flushing:
- Let soil drain 1–2 hours (elevate pot if needed).
- Do NOT water again for 7–14 days (until top 2–3 inches dry).
- Place in bright, indirect light with good airflow.
Step 5: Post-Flush Care (Lock in Results)
| Action | Timing | Why |
|---|---|---|
| Repot (if root-bound) | Within 1 week | Fresh soil = no residual salts |
| Resume filtered water | Immediately | Prevents re-buildup |
| Fertilize lightly | After 4 weeks | Avoid salt shock |
| Monitor new growth | 2–6 weeks | Fresh green tips = success |
Best Water for Areca Palms (Stop Salts Before They Start)
| Water Type | Salt Risk | Recommendation |
|---|---|---|
| Tap (hard) | High (calcium/magnesium) | Flush every 3 months |
| Softened | Very High (sodium) | Never use |
| Distilled/Rainwater | None | Ideal |
| Filtered (RO) | Low | Best compromise |
Hack: Let tap water sit 24 hours to evaporate chlorine, but fluoride stays—filter or flush.
DIY Salt Flush Calendar for Areca Palm
| Month | Action | Notes |
|---|---|---|
| Jan | Flush + check light | Winter dry air |
| Apr | Flush + repot (if needed) | Spring growth |
| Jul | Flush + trim dead tips | Summer heat |
| Oct | Flush + reduce fertilizer | Fall slowdown |
Common Flushing Mistakes (Avoid These!)
| Mistake | Consequence | Fix |
|---|---|---|
| Flushing with cold water | Root shock | Use room temp |
| Not enough water volume | Salts remain | Use 3–4x pot volume |
| Watering again too soon | Root rot | Wait 7–14 days |
| Using softened water | Sodium burn | Switch to filtered |
When Tip Burn Won’t Stop
If brown tips return within 2 months:
- Test your water (TDS >500 ppm = problem).
- Repot entirely in fresh, salt-free mix.
- Switch to rainwater permanently.
- Trim all damaged tips—new growth hides scars.
Conclusion: Healthy Fronds Start with Salt-Free Soil
Flushing salts in areca palm soil is the single most effective way to prevent tip burn. Follow this exact 5-step method:
- Prep and move
- Slow-soak with 3–4x volume
- Check clear runoff
- Dry out fully
- Maintain with clean water
Do this routinely, and your areca palm will reward you with vibrant, arching fronds—no crispy tips, no yellowing, no stunting. Save this guide, set a calendar reminder, and enjoy a thriving palm in 2025.





Leave a comment
This site is protected by hCaptcha and the hCaptcha Privacy Policy and Terms of Service apply.