Repotting your houseplants is essential for their health and growth. Over time, plants outgrow their containers, and the soil becomes depleted of nutrients. Repotting provides fresh soil and more space for the roots to expand. This guide will take you through the process step-by-step, ensuring your houseplants thrive in their new homes.
Why Repotting is Important

- Prevents Root Bound Conditions: When roots grow too large for their pot, they become root-bound, circling the pot and limiting growth.
- Replenishes Soil Nutrients: Over time, soil loses its nutrients. Fresh soil provides essential nutrients that are crucial for plant health.
- Encourages Growth: Repotting into a larger container gives roots more space to grow, promoting overall plant growth.
When to Repot Your Houseplants
Recognizing the signs that your plant needs repotting is crucial:
- Roots Growing Out of Drainage Holes: If you see roots coming out of the bottom, it's a sign that the plant is root-bound.
- Water Drains Quickly: When water runs straight through the pot, the soil may be too compacted or old.
- Yellowing Leaves: If the leaves start turning yellow, it may be a sign that the plant is not getting enough nutrients.
- Stunted Growth: If your plant has stopped growing or is growing very slowly, it might need more space.
Also Read- How To Water Your Houseplants: The Ultimate Guide
Materials You’ll Need
- New pot (one size larger than the current pot)
- Fresh potting soil
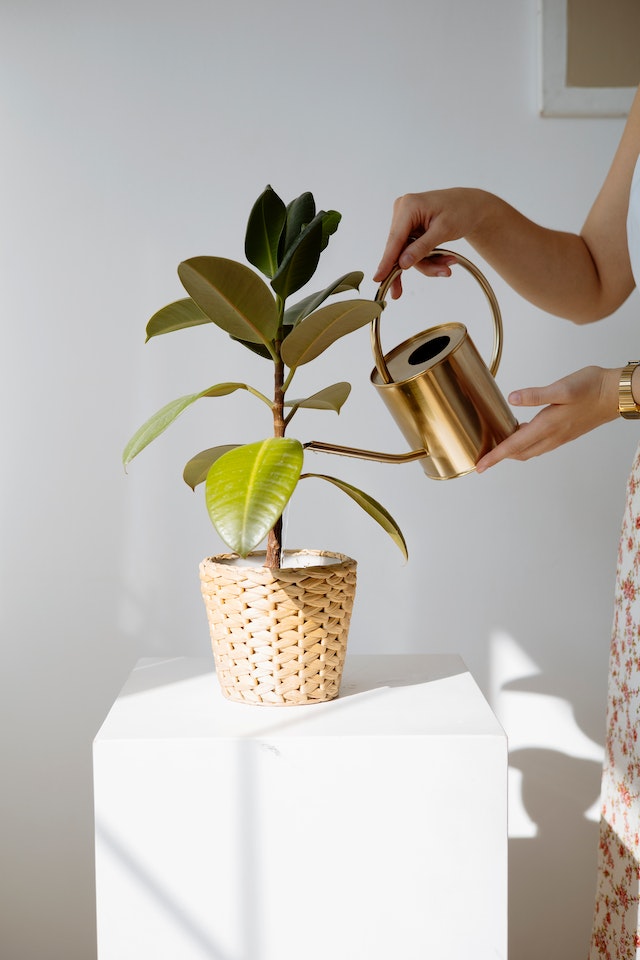
- Watering can
- Pruners or scissors
- Gardening gloves
- Trowel or small shovel
Step-by-Step Guide to Repotting
Step 1: Choose the Right Time
The best time to repot most houseplants is during their active growing season, usually in spring or early summer. Avoid repotting during their dormant period in winter.
Step 2: Prepare the New Pot

Select a new pot that is 1-2 inches larger in diameter than the current one. Ensure it has drainage holes to prevent waterlogging. If the pot doesn’t have holes, you can create them with a drill.
- Tip: Place a small piece of mesh or a coffee filter over the drainage holes to prevent soil from escaping while still allowing water to drain.
Step 3: Remove the Plant from Its Current Pot
- Water the Plant: Watering your plant a day before repotting helps to ease the removal process.
- Gently Loosen the Plant: Turn the pot on its side and gently tap the bottom to loosen the plant. Carefully slide the plant out, supporting the base to avoid damage.
- Inspect the Roots: Check the roots for any signs of disease or rot. Healthy roots should be white and firm.
Step 4: Prune the Roots

If the roots are tightly bound, gently tease them apart with your fingers. Trim any dead or rotting roots with sterilized pruners.
- Tip: Pruning long roots encourages new growth and helps the plant establish itself in the new pot.
Step 5: Prepare the New Soil

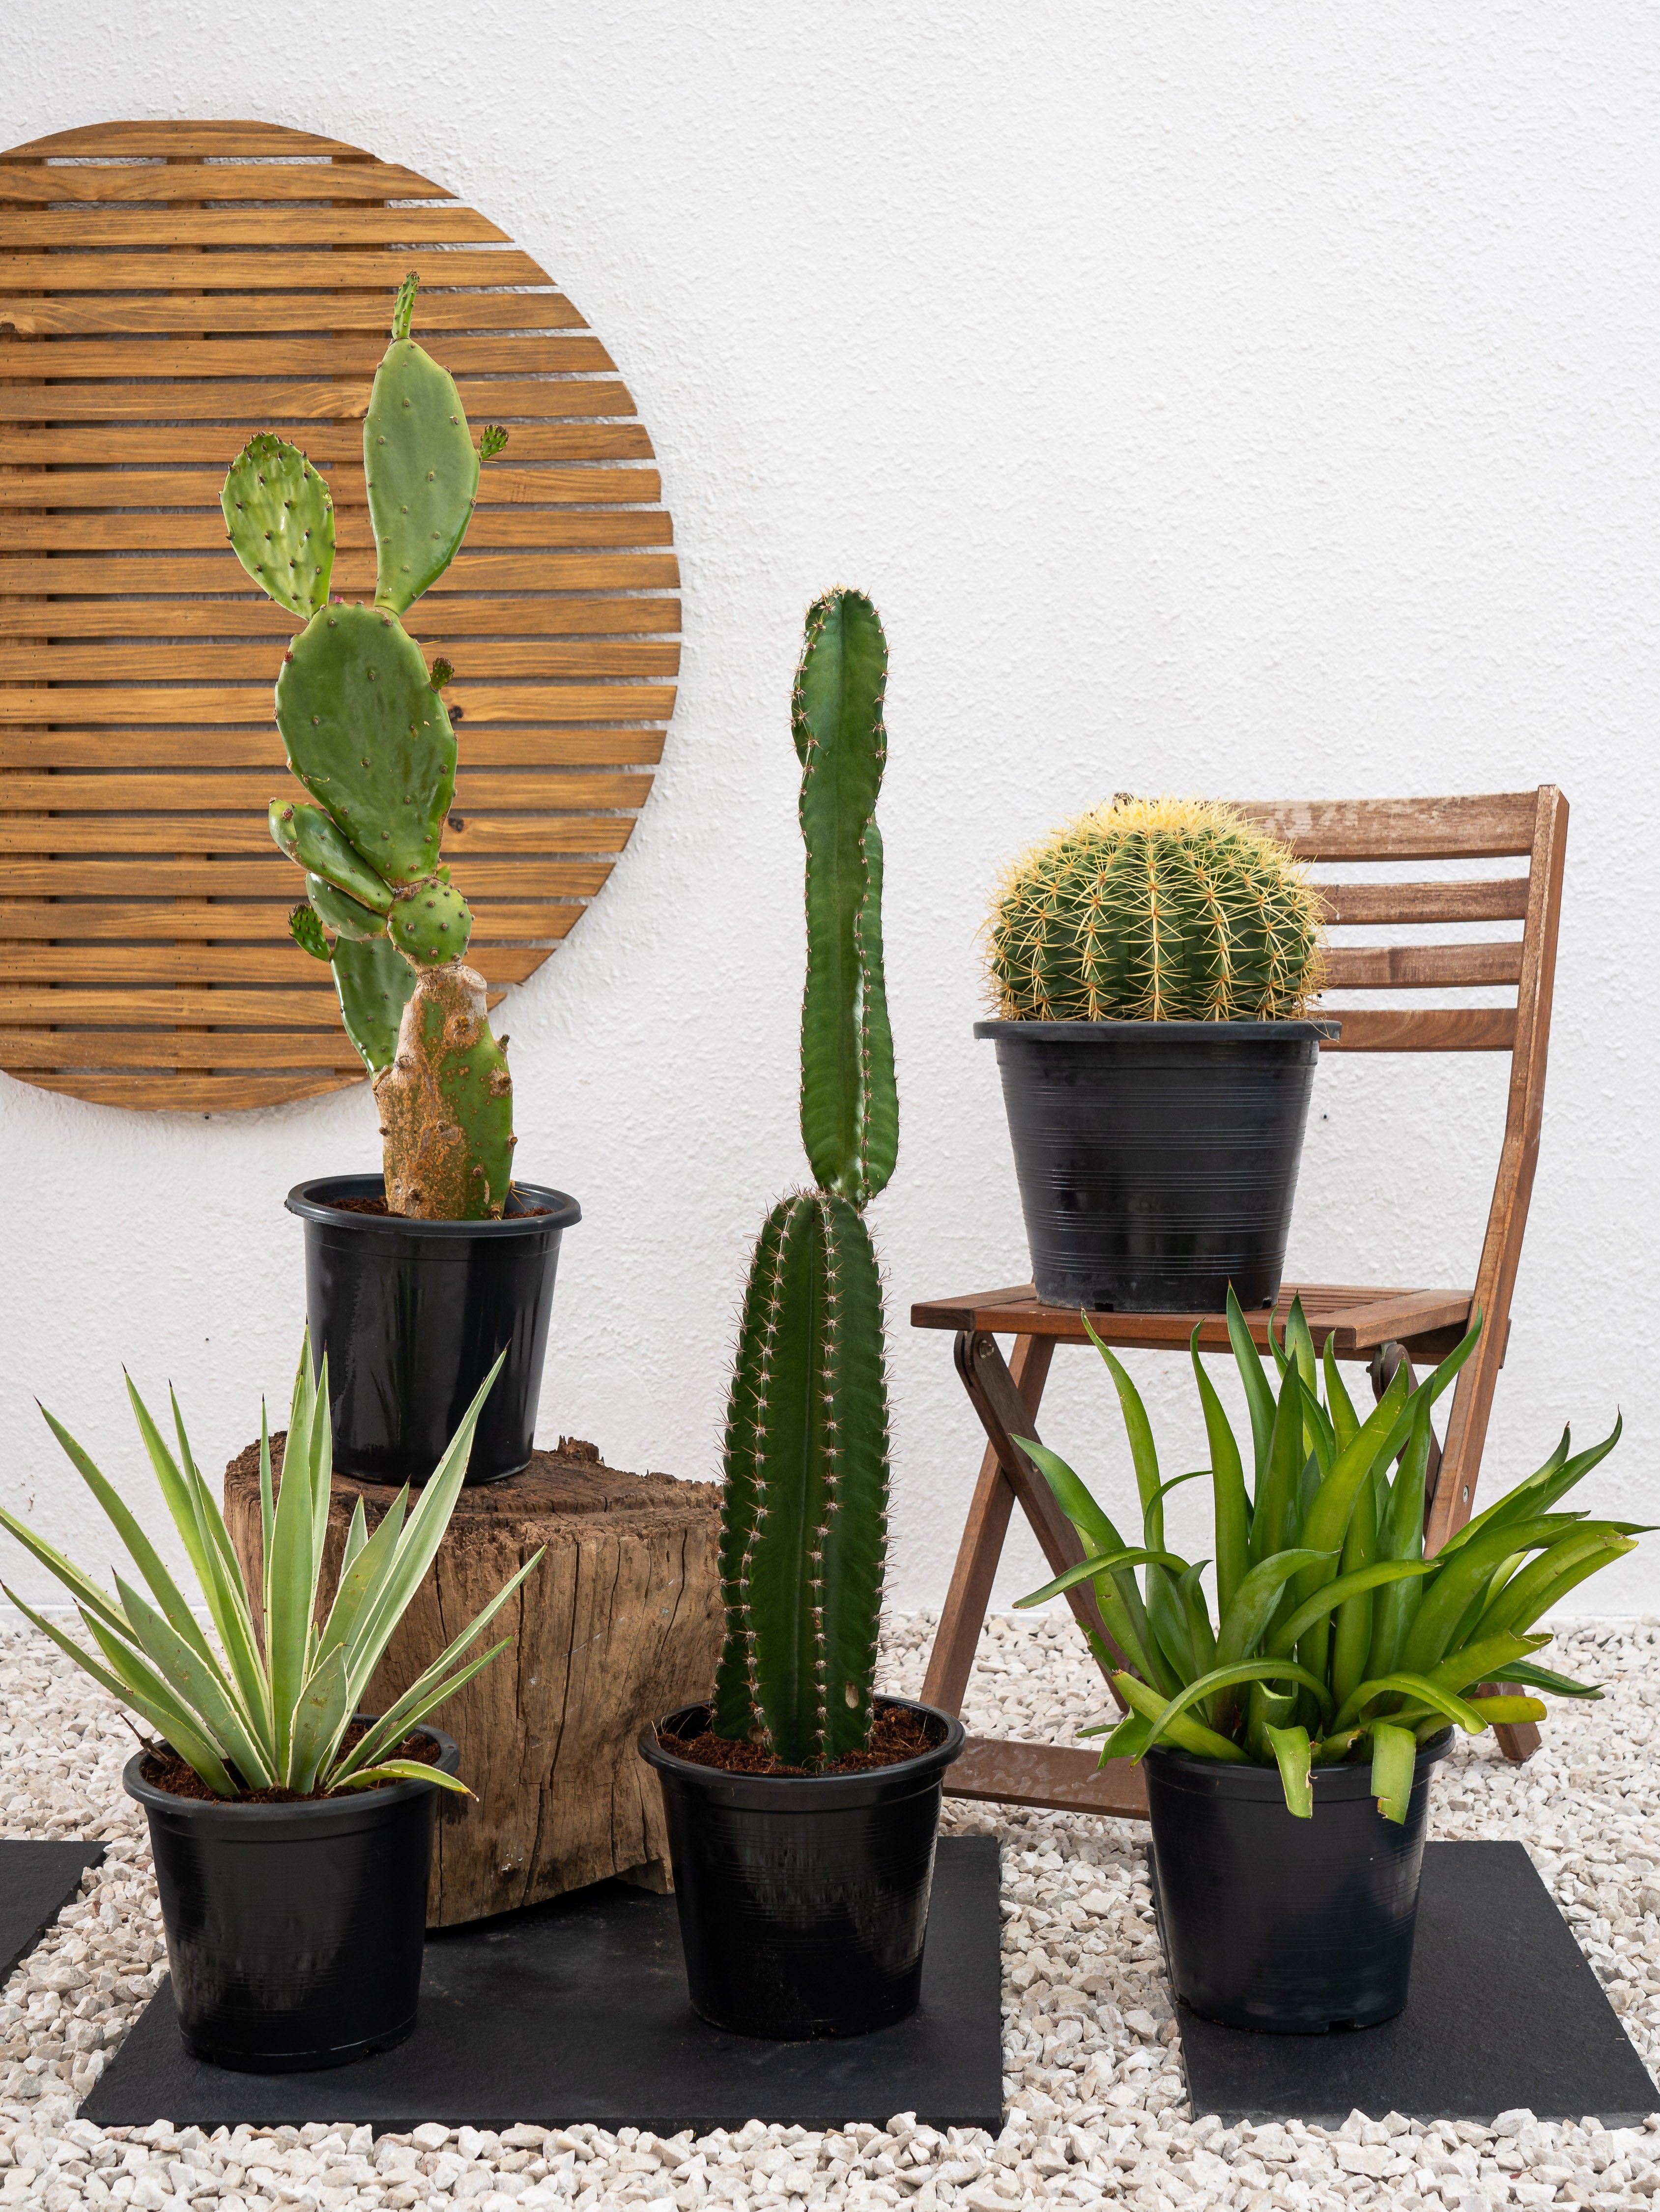
Fill the bottom of the new pot with a layer of fresh potting soil. The type of soil depends on the plant species. For example, use well-draining soil for succulents and cacti, and peat-based soil for tropical plants.
- Tip: Moisten the new soil slightly before placing the plant in it to help reduce transplant shock.
Step 6: Position the Plant in the New Pot
Place the plant in the center of the new pot. Add soil around the roots, filling in the gaps. Make sure the plant sits at the same level as it did in the old pot; burying the stem too deep can cause rot.
- Tip: Gently press the soil down to eliminate air pockets but avoid compacting it too much, as roots need space to breathe.
Step 7: Water Thoroughly

Water the plant thoroughly until water drains out of the bottom. This helps to settle the soil around the roots and ensures good contact between the roots and the soil.
- Tip: Avoid using cold water as it can shock the plant. Room temperature water is best.
Step 8: Post-Repotting Care
- Placement: Keep the plant out of direct sunlight for a few days to help it adjust to the new pot.
- Watering: Reduce watering slightly for the first week after repotting to let the roots settle.
- Observation: Monitor the plant for any signs of stress, such as wilting or yellowing leaves. Some plants may take a few weeks to adjust.
Common Mistakes to Avoid
- Overwatering: After repotting, plants are vulnerable to root rot. Ensure the soil is well-draining and do not overwater.
- Using the Wrong Soil: Different plants have different soil requirements. Using the wrong type can hinder growth and health.
- Too Large a Pot: Using a pot that is too large can lead to waterlogging and root rot. Only go one size larger than the current pot.
Also Read- How Much Sunlight Does an Indoor Plant Need?
Conclusion
Repotting your indoor plants is a crucial part of their care regimen. By following these simple steps, you can ensure that your plants remain healthy and continue to thrive. Remember to choose the right time, prepare your materials, and handle your plants with care during the repotting process. With a little effort, your houseplants will thank you with lush growth and vibrant health.




Leave a comment
This site is protected by hCaptcha and the hCaptcha Privacy Policy and Terms of Service apply.