


Why spider plants get thin (and how to reverse it)
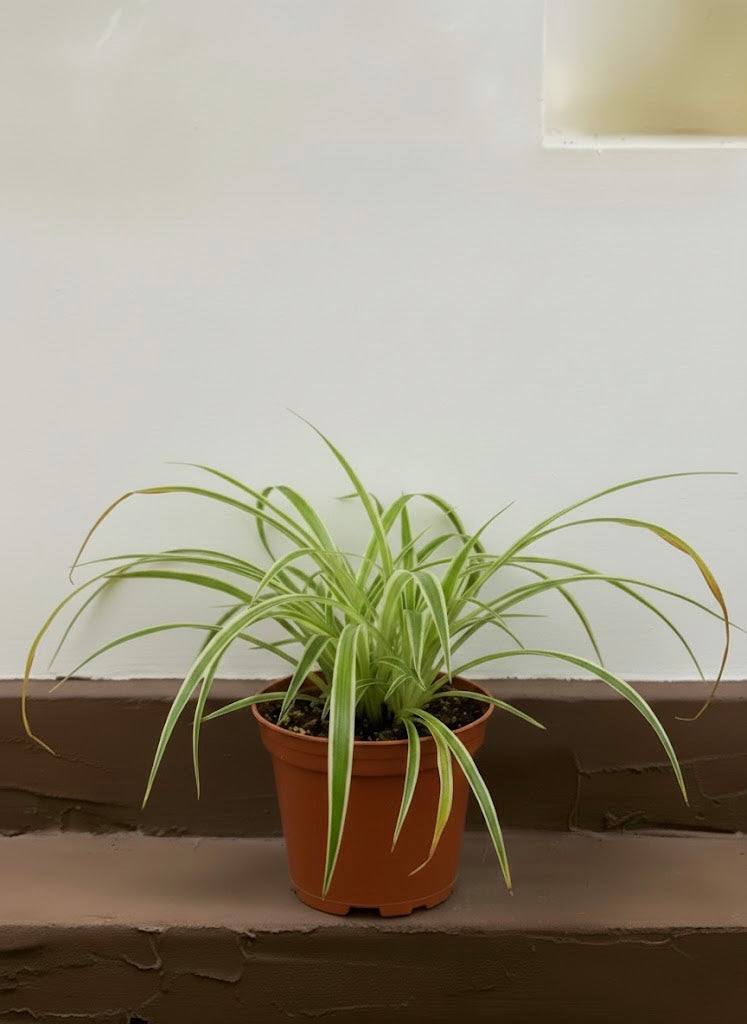
Spider plants (Chlorophytum comosum, incl. ‘Vittatum’ and ‘Variegatum’) stretch toward light, crowd their crowns, and pack roots until growth turns wide but sparse. A three-part reset—timed cutbacks, smart division, and snug pots with airy mix—plus bright, indirect light will push compact leaves and more rosettes.
The growth reset plan (overview)
Step 1: Light first
Place by an east window or 0.6–1.5 m (2–5 ft) behind a bright south/west window with a sheer. Interior/north rooms benefit from a 15–25 W daylight LED 20–30 cm (8–12 in) above for 10–12 h/day.
Step 2: Cut back at the right moment
Trim tired outer leaves and excess runners at the start of active growth (late winter to spring).
Step 3: Divide a congested crown
Split the clump into 2–4 pieces so each section can rebuild dense foliage.
Step 4: Repot one size up
A slightly snug pot and a fast-draining mix keep roots oxygenated and growth compact.
Step 5: Feed lightly
Low-dose, regular nutrients power bushy—not floppy—leaves.
Cutback timing: when pruning creates bushiness (not shock)
Best season
Late winter to mid-spring, or any time you can provide strong, steady light. Avoid deep winter in dim rooms.
What to cut
- Leaf tidy: Remove fully brown tips/edges and tired outer leaves at the base with sterile scissors.
- Length control: Reduce overlong leaves by ≤25–30%, following the natural point for clean edges.
- Runner control: Keep 2–4 strongest runners, remove the rest. Fewer runners = more energy for the central crown.
Why it works
Pruning redirects carbohydrates from old foliage and dozens of pups back into the crown, prompting tight, fresh leaves within 2–6 weeks under good light.
Division without drama: step-by-step
Tools
Clean shears/knife, drainage pots, airy mix (recipe below), tray.
Steps
- Pre-hydrate lightly (day before): Slightly moist roots separate cleanly.
- Unpot gently: Squeeze sides, tip out, lay on its side.
- Find seams: Spider plants form multiple crowns—look for natural gaps.
- Split 2–4 pieces: Pry apart with thumbs; use a sterile knife only where fused. Each piece needs 1+ healthy crown and several roots.
- Root clean-up: Trim dead/mushy/circling roots.
- Recombine (optional): Pot two divisions together offset for instant fullness.
- Set depth: Crowns at the same depth as before; fill, then tap pot to settle (don’t compact hard).
- Water once, then pause: Soak to seat soil, drain fully, then wait until the top 2–3 cm (1 in) dries before watering again.
Recovery
Expect perk-up in a week and tight, new leaves in 2–4 weeks with bright light.
Pot size: snug beats spacious
Sizing rule
Move up one size (~2–3 cm / 1 in wider) only when roots circle hard or the plant dries in <3–4 days despite normal watering.
Shape & material
- Shape: A moderately tall cylinder dries more evenly than a shallow bowl.
- Terracotta: Breathes—great if you overwater.
- Glazed/plastic: Retains moisture—ok in very dry homes; follow depth checks strictly.
The ideal soil mix (fast drain, steady moisture)
Airy blend
- 2 parts quality potting mix
- 1 part perlite or pumice (pumice adds stability)
- ½ part fine bark or coarse horticultural sand
This wicks enough moisture to sustain the crown yet avoids soggy pockets that cause tip burn and sparse regrowth.
Light and watering: the engine of bushiness
Light targets
- East window: Ideal bright-indirect.
- South/west: Use a sheer; place 0.6–1.5 m (2–5 ft) back.
- North/interior: Add a 15–25 W daylight LED 20–30 cm (8–12 in) above for 10–12 h/day.
Watering rhythm
Water when the top 2–3 cm (1 in) is dry, then soak thoroughly until runoff and empty the saucer after 10 minutes. Avoid small “sips.” Bright rooms: roughly weekly; dim rooms: every 10–14+ days.
Hard-water note
If tips brown and soil rims crust white, flush with filtered water (2–3× pot volume) and alternate with filtered/RO.
Feeding: little, regular, and right after pruning
Dosing
- ¼-strength balanced liquid every 2–4 weeks during active growth.
- Wait 2 weeks after major cutback/division, then resume light feeding.
- Skip heavy feeds in low light/cool seasons (salts + dim = brown tips).
What about pups—keep or cut?
For maximum bushiness
Limit runners so energy returns to the mother crown.
For more pups
Allow 2–3 runners on a well-lit, well-fed plant. Ensure the mother still gets resources.
Rooting pups efficiently
Leave pups attached while you rest their baby roots on a small pot of moist mix beside the mother. Once rooted, snip the umbilical. This steals less energy than rooting many at once.
One-month bushiness plan (copy/paste)
Week 0 (Reset)
Move to bright-indirect light. Tidy prune: remove brown tips/old leaves; cut excess runners.
Week 1 (Divide/Repot if needed)
Split into 2–4 divisions; repot snug in airy mix. Deep water; drain fully.
Week 2
Check dry-down; water only at true dryness. Begin ¼-strength feeding if leaves look perky.
Week 3
Remove new excess runners; rotate the pot ¼ turn for even light.
Week 4
Light tidy trim; maintain light and measured watering. Expect visibly fuller crowns and shorter, denser leaves.
Troubleshooting: symptom → fix
Sparse center, floppy leaves
Low light; energy going to runners → move to brighter light, remove most runners, resume light feeding.
Brown leaf tips
Salts/hard water or irregular watering → flush soil, use filtered water sometimes, water deeply then drain.
Yellowing base + heavy pot
Overwatering in dense mix/oversized pot → repot to airy mix, reduce pot size, water only at top-dry.
Stalled after division
Low light or cold room → add LED/move closer to window; keep 18–26°C (65–79°F).
Few new leaves after cutback
Pot still too big; crown congested → divide further; pot snug; maintain bright light.
FAQs
How often should I cut back a spider plant?
Light tidying anytime; larger cutbacks once or twice a year in bright seasons.
Will cutting runners stop pups forever?
No. It temporarily redirects energy to the crown. With bright light and regular feeding, runners return—keep only a few.
Is division necessary to get a bushier look?
If the crown is congested or root-bound, yes—division plus snug repotting is the fastest route to density.
What pot size makes spider plants bushier?
A slightly snug pot (one size up from the root mass) encourages compact foliage; oversized pots stay wet and look sparse.
The takeaway
Well-timed pruning, thoughtful division, and a snug pot with airy mix—powered by bright, indirect light and measured watering—transform a lanky spider plant into a tight, bushy specimen. Trim tired leaves and extra runners, split overcrowded crowns, repot just one size up, and feed lightly. Within weeks you’ll see tighter foliage; in a couple of months, a refreshed plant that’s full, balanced, and ready to throw pups on your terms.